
HDPE Extrusion Welding: Temperatures, Technique & Trial Seams
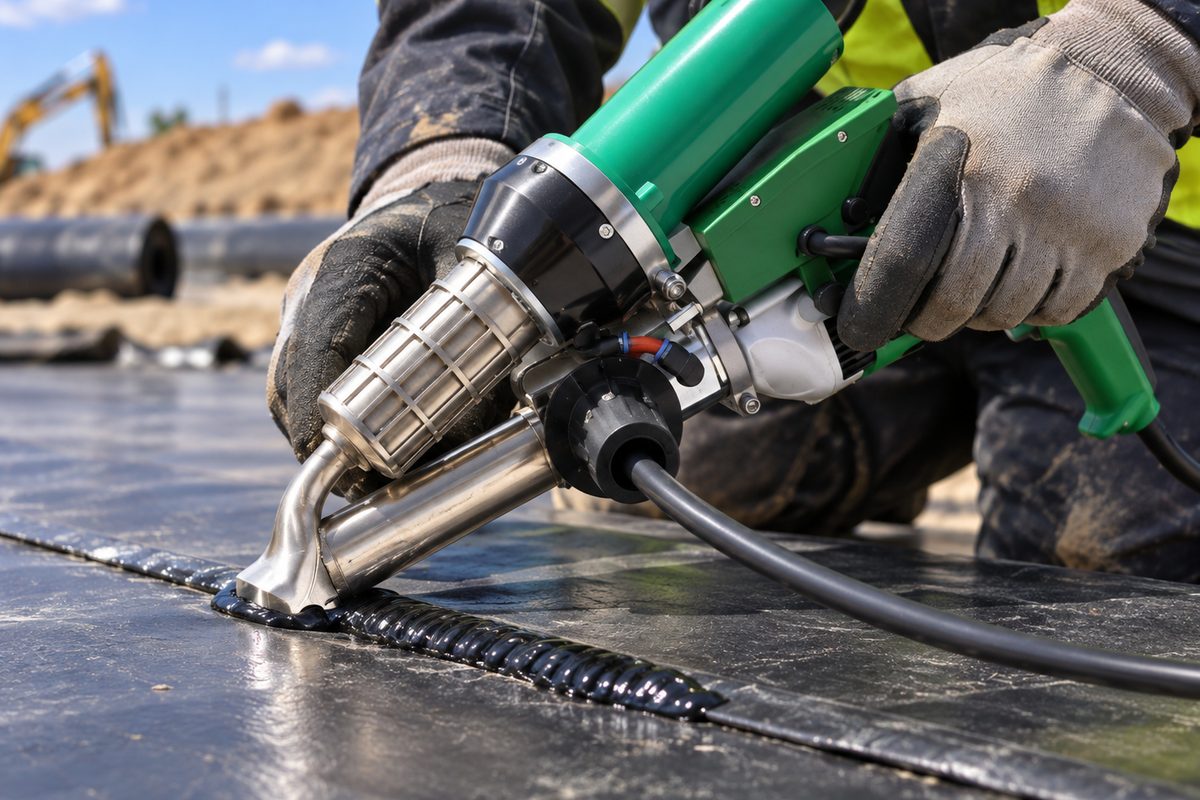
Owning a plastic extrusion welder is the easy part; producing seams that pass peel and shear tests every day is technique. This guide condenses what we teach at every machine handover into the settings, preparation and habits that make an hdpe extrusion welder perform consistently — on geomembrane sites and in fabrication workshops alike.
The two temperatures — and why they are separate
An extrusion welder controls melt temperature (the barrel that plastifies the rod) and preheat temperature (the air stream warming the parent sheet) independently. HDPE welds when both the extruded bead and the sheet surface reach a molten state together: too little preheat and the bead sits on cold plastic like icing; too much and the sheet scorches or thins. Because ambient conditions in the Gulf swing hard between morning and afternoon, the correct numbers are not fixed — they are whatever today's trial seam proves.
Preparation decides half the weld
- Grind the weld zone lightly to remove the oxidised surface layer — HDPE oxidises quickly and oxidised skin does not fuse. Weld within a short time of grinding.
- Clean and dry — dust, moisture and release agents cause porosity and cold spots.
- Tack first — hold patches and components in position with a hot air gun before running the structural bead.
- Match the rod — same resin family as the sheet; our welding rod guide covers grades and sizes.
Running the bead
- Purge the barrel until clean, uniform material extrudes.
- Hold the PTFE shoe flat to the joint at a steady angle; let the machine set the pace — pushing faster than the output starves the bead.
- Watch for a small, even wash-out of molten material along both bead edges — the visual signature of fusion.
- Overlap bead ends by restarting on top of the previous bead, not butted against it.
- Let seams cool naturally; never quench with water.
Trial seams and testing
Start every shift with a trial seam on offcuts of the day's material, then bend and peel it cold. On CQA-supervised sites, extrusion seams are verified by spark testing over an embedded conductor or vacuum box — the discipline our seam methods comparison covers in detail. A crew that trial-welds daily almost never fails a destructive test.
The IZ-620 extrusion welder ships from Dubai with these procedures in its commissioning notes, plus matched rod and spare shoes — request a quotation and your crew starts with the technique, not just the tool — all from one extrusion welding machine supplier in Dubai.